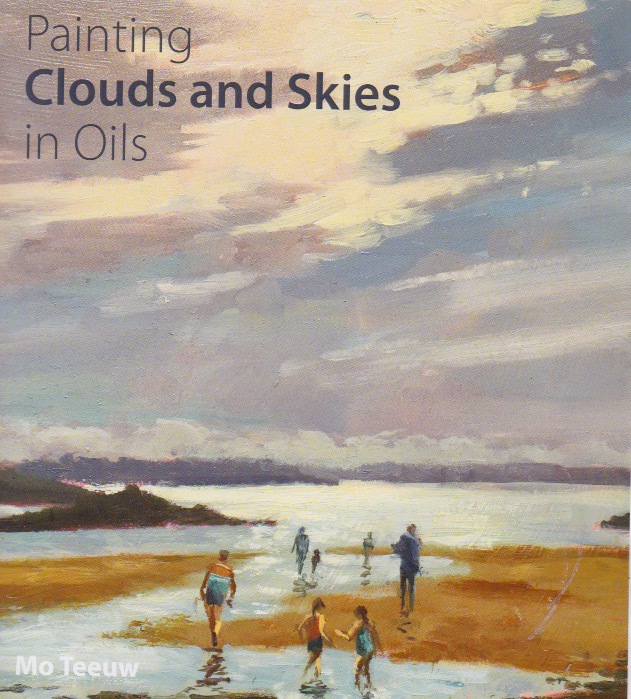
Painting Skies and Clouds in Oils is a fully comprehensive painting book. There is lots of practical
advice on painting plein air and step by step instructions on painting in oils.
This is an all round book for beginners and
the more experienced painter.
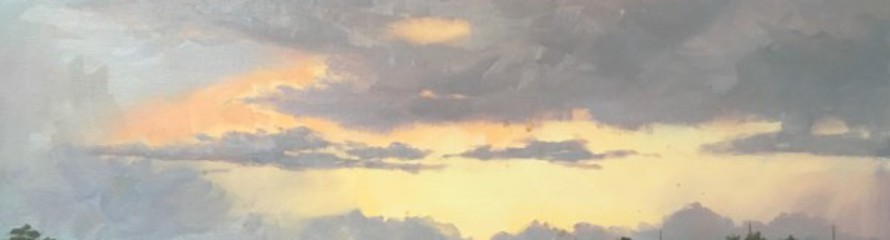
Learn to capture the beauty and drama of
the sky. A good sky is the essence of successful landscape and seascape paintings, and this practical book covers everything you will need to know to paint a sky that captures the mood and atmosphere
of a scene. With over 200 paintings, it explains techniques, demonstrates the painting process including step-by-step instruction on painting in oils with the alla prima technique. Advice is given on
using alternative colours and creative intepretations and ideas offered to inspire and develop skills and a personal style. Includes detailed instruction on equipment, tone, composition and
perspective, and practical advice on painting en plein air and travelling light. Of interest to all artists particularly oil painters, and superbly illustrated with 218 colour
paintings.
"This book gives many examples of sky paintings, and what is
really helpful is that the colours used for the skies are listed for each painted sky."
"Packed richly with advice, especially for landscape artists, this
book is also a delight to peruse for the abundance of the artist's own work, which is superb, full of sunlight and the wonder of nature. Highly recommended"
Plein Aire is for Everyone
Many people are put off the idea of painting outside because of all the kit they might have to take with them and the handling of wet oil paints. Over the years of painting en plein aire with
other artists I have picked up numerous tips and have now reduced the essentials down to one small bag.
Yes, it is possible. The SAA canvas bag is an ideal size. It holds my pallet, brushes, turps pot, pallet knives, rags and up to six wet canvas boards.
Preferring to stand, I use a lightweight camera tripod, which my pochade clips on to.
I have an Open M box which I bought from the US.
If you already have a pochade there is a nifty bit of kit available from the SAA that screws onto the back of your pallet or drawing board. This then screws onto the tripod. For more versatility,
I advise investing in a quick release fixing which stays on thus enabling me to set up quickly and to adjust the angle I am working at.
Paints
I use a mixture of artists' quality paints mostly Mussini, Old Holland and Michael Harding
I keep to a fairly limited palett to avoid carrying too much weight around
These are the colours I use:
Cadmium Red
Permanent Rose
Ultramarine Blue
Cobalt
Cadmium Yellow
Lemon Yellow
Yellow Ochre
Burnt Umber
Alkyd Titanium White (it dries fast)
Brushes
A selection of bristle filberts, flats and a rigger. I find the Rosemary & Co Ivory range very good quality and value
The brush washer is essential. It hangs on the side of my box, has a sieve for the sludge to fall through and
seals up tightly. Tip: hammer a small Toly hook on the side to hang pot on.
Canvases
I use mainly canvas board and keep to 10” – 12” and under for two reasons. I can complete a picture quicker and they are easier to transport. In the studio I prepare the board firstly by applying
a coloured ground, this can be the scrapings off the pallet from the days painting to prevent waste. The next thing is to glue four matchsticks to the back. This is how I transport wet paintings,
they stack on top of each other. Top one clean and taped together with masking tape.
The boards I use are Loxley or Jacksons linen oil primed, usually 10" x 12" or 10" x 10"
Travelling abroad,
I buy a roll of linen canvas which I cut into sizes 12" x 14" & 12" x 12"
I take just a few 3mm MDF boards and tape canvas onto them. Still separated by matchsticks.
At the end of the day they are then taped to the wall of my accommodation to dry. And the next day’s canvases prepared.
All I have to take home is a neat pile of canvas, which can be dry mounted on to board at home.
I use Griffin Alkyd fast drying white to ensure the pictures are dry
Now you have your kit sorted the next thing to do is to get out there.
Here are some of my top tips
Stay Warm
My best buy was some skiing trousers. Charity shops have plenty at this time of year. Also fingerless gloves and a hat are essential. Extra socks and try standing on a piece of insulation board.
That stops the cold creeping up.
Location & Subject
Decide where you are going beforehand otherwise you’ll waste time driving around looking. When you arrive, spend time looking round, the first subject you saw may not be the best. Learn to be
selective and don’t be afraid to leave things out. Remember you are making your picture and not copying a photograph. Try to capture the essence of the scene in front of you.
Work Small and Quickly
Speed will come with experience, working on a smaller scale will enable you to complete a painting in less time. Use larger brushes, don’t put in much detail too soon and rely on your
observational skills. I hardly ever spend more than hour and a half on a painting as light and shadows can change so fast
Avoid Onlookers
This can be a major concern for the not so confident but you must remember that they are mostly genuinely interested and will admire what you are doing. Try to position yourself against a wall or
object that will prevent people coming up and looking over your shoulder. Earphones whether connected or not will put people off trying to talk to you. Also, avoid eye contact. If all this fails just
smile politely and say ”Sorry, I can’t talk right now as I only have a short time to get this done”
Above all, don’t get despondent. I have learnt a lot from my failures, and there have been many. It’s what keeps me painting knowing that the next one is going to be brilliant! And just
think of all that lovely fresh air that you’re getting